Editing a Dub

View as Markdown

Once your asset reaches “Review Ready” status, select it to open the Dubbed output editor - a dual-pane view with your original video on the left and a timestamped, block-by-block transcript-and-translation pane on the right.

Editor Layout
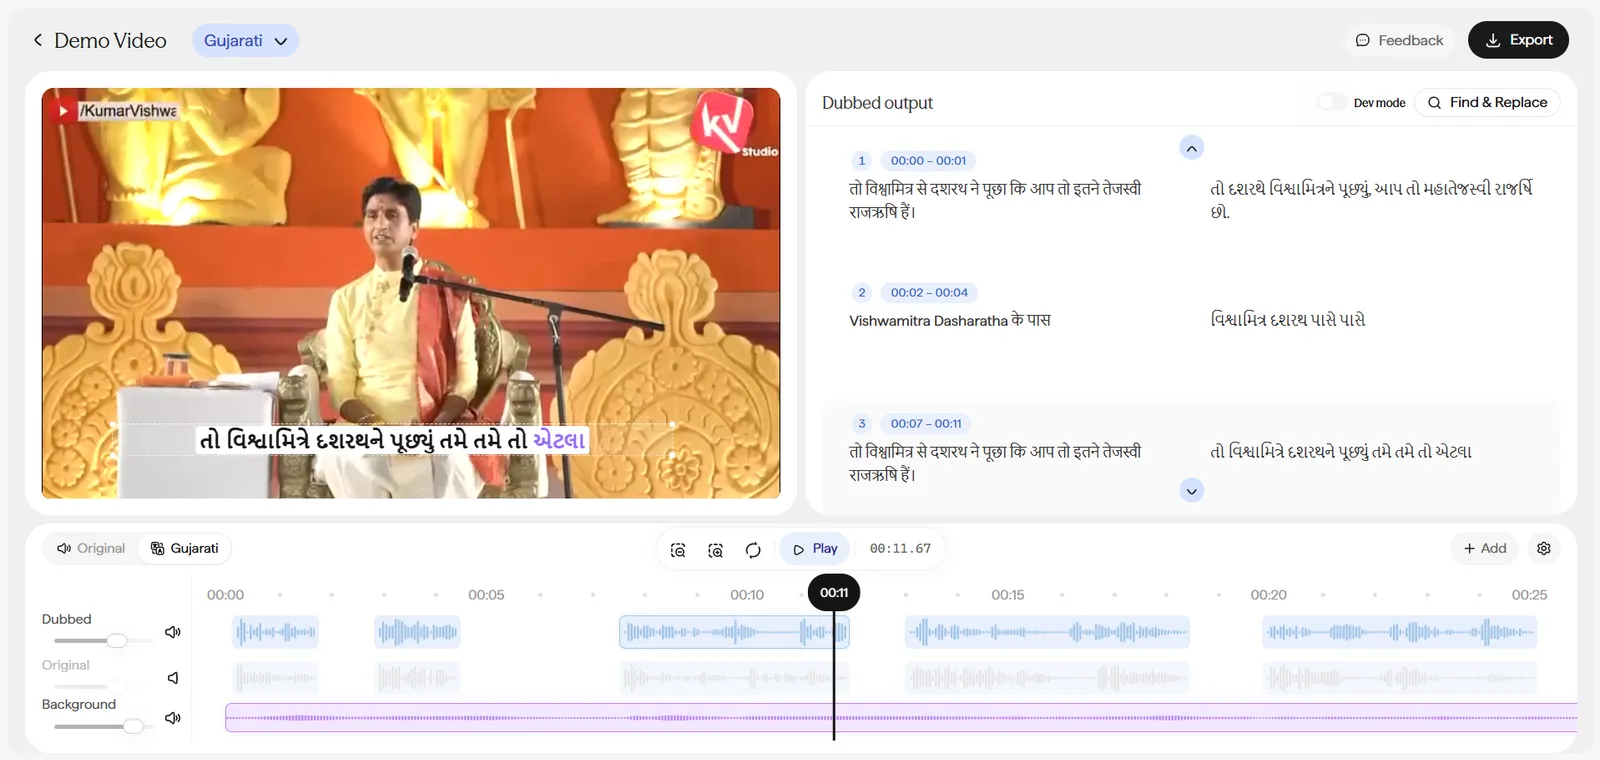
Dubbing editor screen. Header row: a back arrow, the project name, and a language pill (e.g. Hindi) for switching between target languages, followed by Feedback and Export buttons on the right. Below the header, a two-pane layout: the left pane is the original video player; the right pane is titled Dubbed output with a search icon and Find and Replace control in its top-right corner. The right pane lists numbered, timestamped blocks (e.g. 1, 00:00 to 00:06), each showing the original-language text on the left and the translated text on the right inside its own box, with a Play audio icon button and a Regenerate audio icon button beside it. Below both panes, a shared playback bar toggles between Original and the target language, with transport controls and a running timestamp. Beneath the playback bar, three horizontal waveform tracks labeled Dubbed, Original, and Background, each with its own volume slider and speaker icon.

The full Dubbing editor - original video, timestamped translation blocks, and the three-track audio mixer, all in one view.

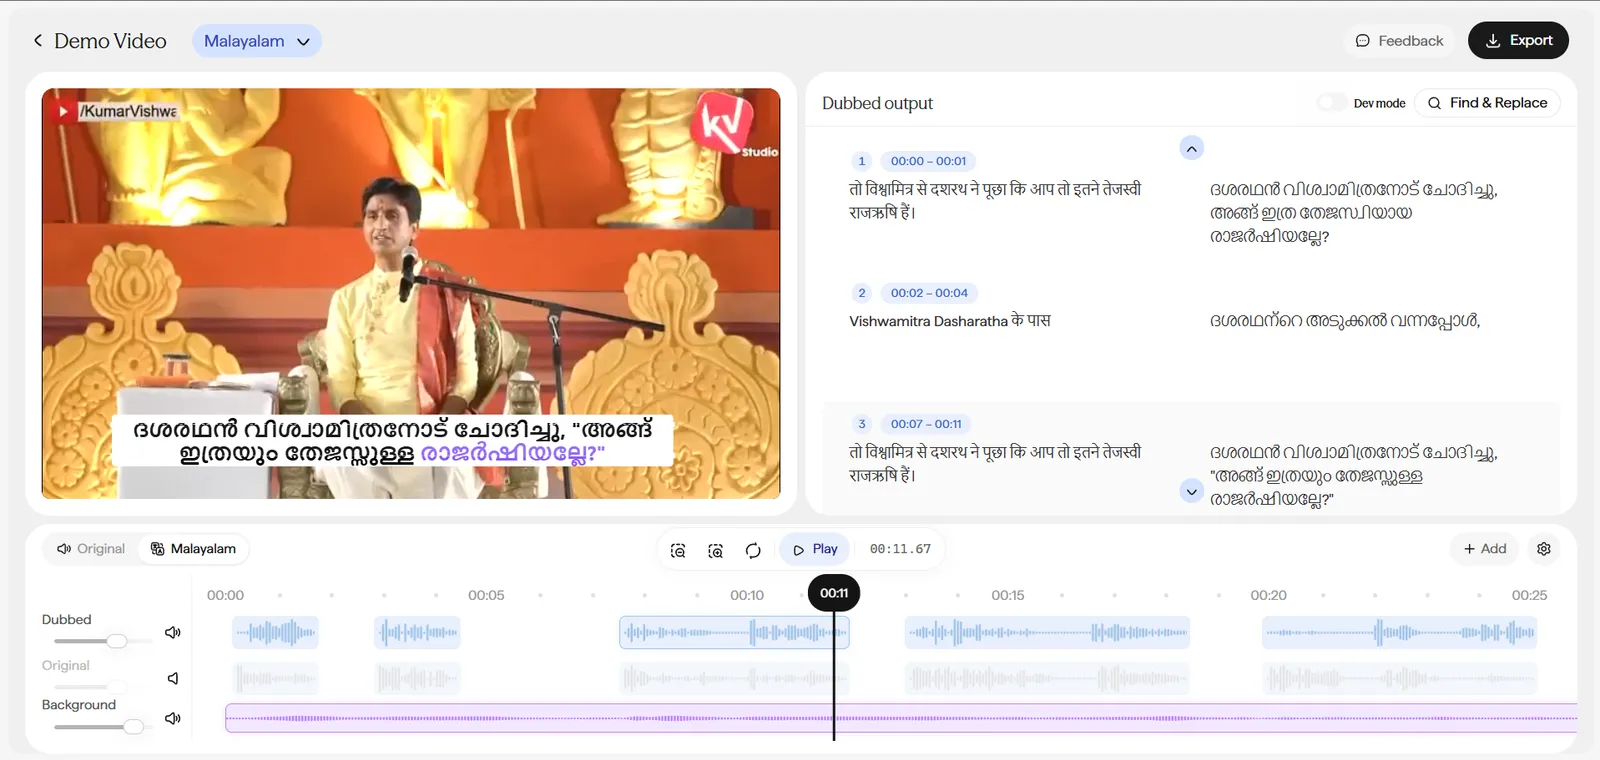
Dubbing editor for the same project, now showing Malayalam as the active target language in the header pill. The video preview displays a burned-in subtitle caption overlay in Malayalam script at the bottom of the frame. The Dubbed output pane on the right shows the same numbered timestamped blocks, now with Malayalam translations instead of Hindi. The three-track audio mixer at the bottom shows the same Dubbed, Original, and Background sliders.

The same project viewed in a second target language - Malayalam - with its own independent transcript, burned-in caption preview on the video, and audio mixer state.

Switching Between Target Languages

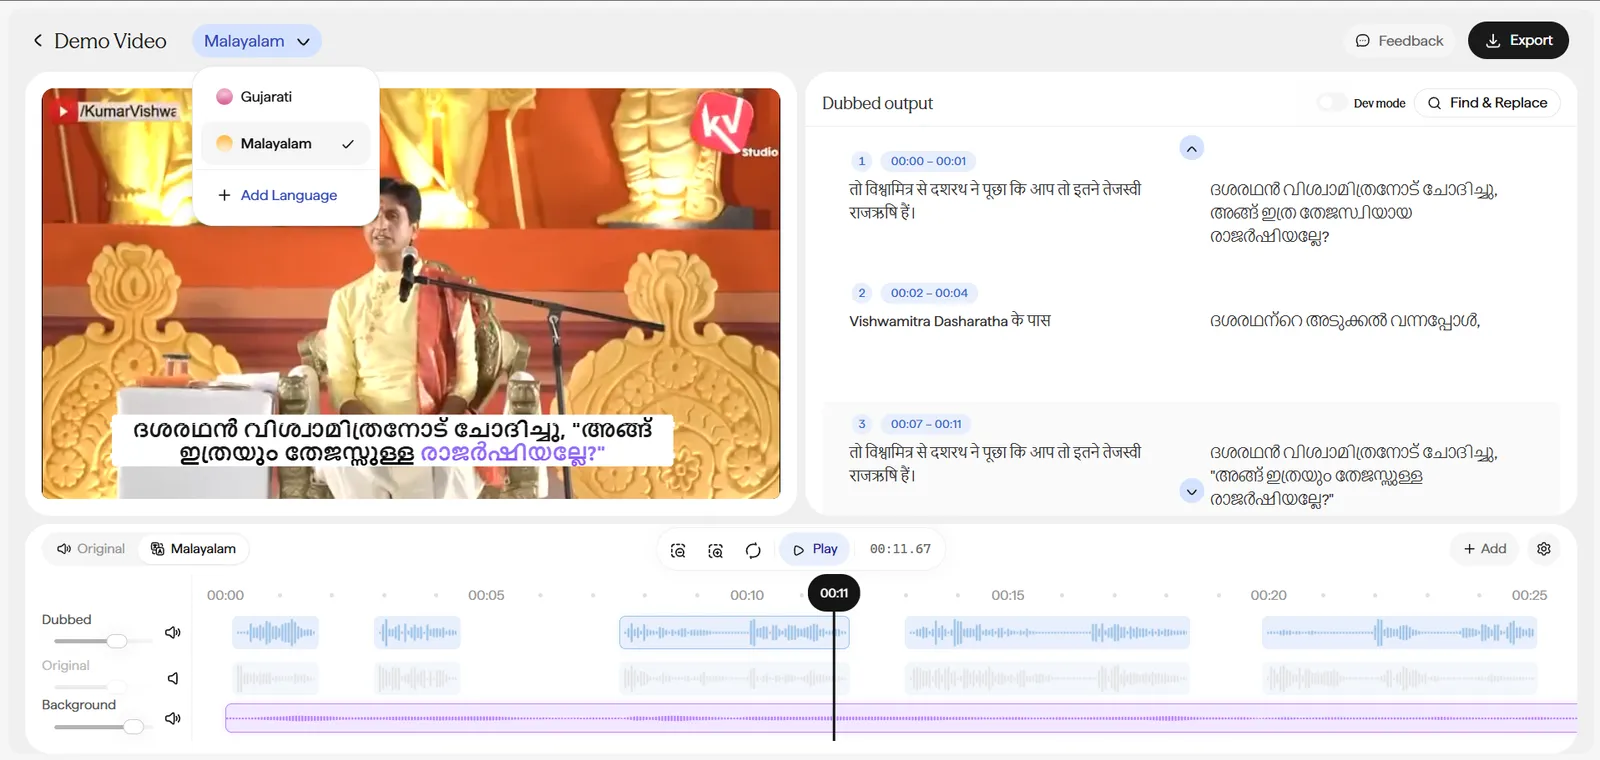
Language pill dropdown expanded in the editor header, listing Gujarati and Malayalam (checked, currently active) as available target languages for this project, with a plus Add Language option below the list.

The language switcher, expanded - lists every target language generated for this project, with an option to add another.
  • If you generated multiple target languages from one source file, use the language pill in the header (e.g. “Hindi ▾”) to switch which one you’re viewing.
  • Each language keeps its own independent transcript and edits - switching languages doesn’t carry a fix over to the others.
  • Click + Add Language in the same dropdown to generate an additional target language for this project later, without starting a new dub from scratch.

Correcting a Localized Line

1

Find the Block

Scroll the Dubbed output pane to the numbered, timestamped block you want to fix, or use Find & Replace in the top-right corner to search across the whole transcript instead of scrolling.

2

Edit the Translated Text

Click into the translated-text box for that block and correct the phrasing directly.

3

Regenerate Just That Block

Click the Regenerate audio icon beside the block.

  • Only that specific block re-renders - the rest of the dub stays untouched, so a one-word fix doesn’t cost you a full re-render or a fresh review pass on lines you already approved.
  • Use the Play audio icon next to it to preview the block before and after regenerating.
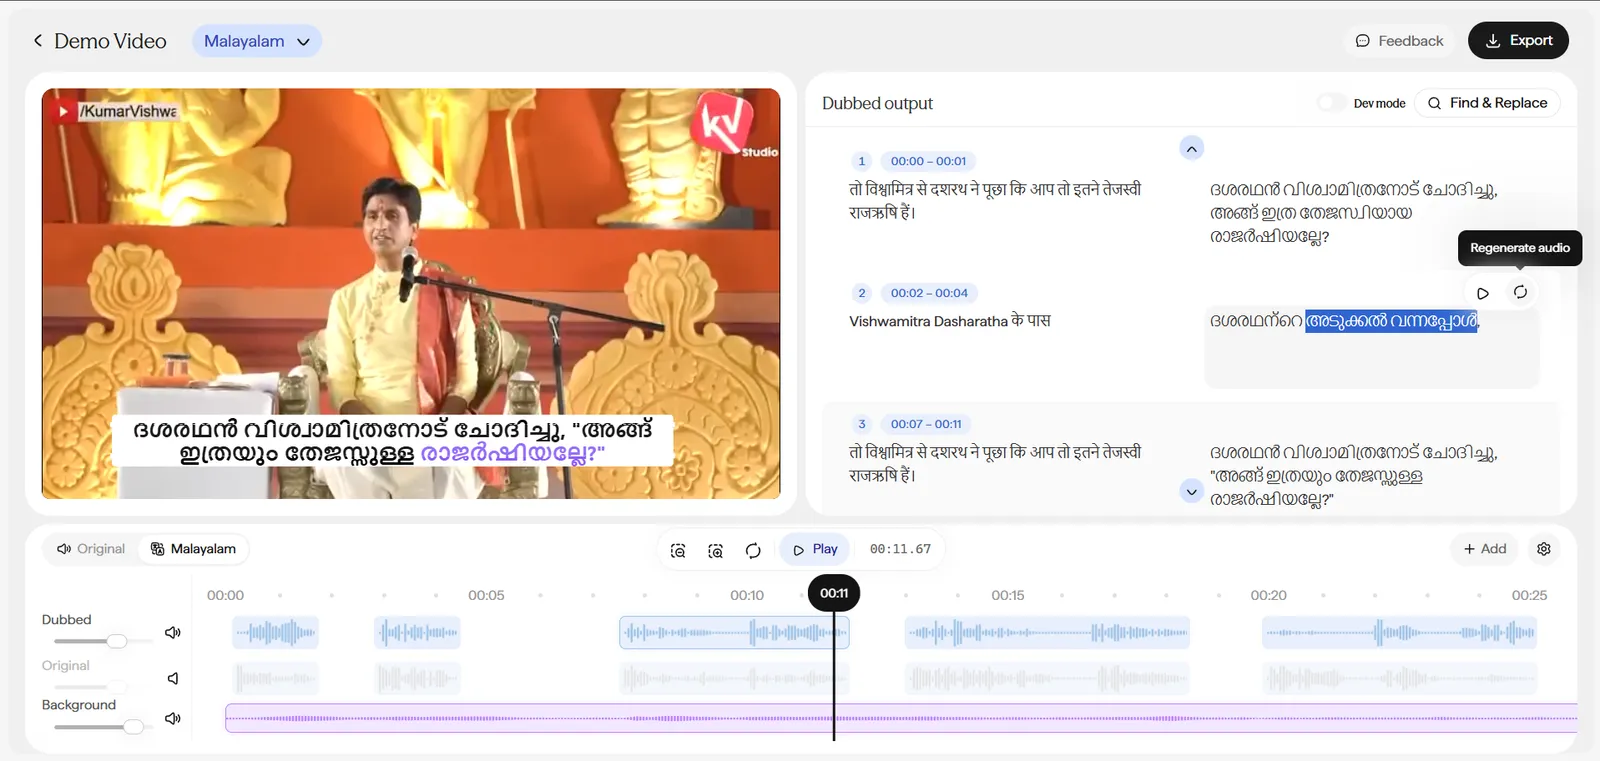
Dubbed output pane with a portion of a block's translated text highlighted in blue, showing it selected for editing. A Regenerate audio tooltip is visible above the block's icon buttons, next to a Play audio icon.

A block's translated text selected for editing, with the Play audio and Regenerate audio icons visible beside it.

Mixing Dubbed, Original, and Background Audio

Playback bar with the Dubbed, Original, and Background volume sliders. The Dubbed track's speaker icon is outlined, showing it as the currently focused control, with its waveform shown in blue (active).
The same playback bar after clicking the Dubbed track's speaker icon: the Dubbed waveform is now grayed out (muted), while the Original track's waveform is highlighted, showing focus has shifted to it.

Clicking a track’s speaker icon mutes it - its waveform grays out immediately, as shown above.

  • The playback bar includes three independent volume sliders - Dubbed, Original, and Background - each with its own speaker icon that mutes just that track.
  • Use them to blend the new dubbed voice track against the original audio and background sound, instead of simply replacing the audio track outright.
  • This is useful when you want ambient sound or background music from the source to carry through the final dub.

Exporting Your Dub

  • Once you’re happy with a language’s output, click Export in the header to download the final dubbed video for that language.
  • Export each target language independently once it’s ready - you don’t need to wait for every language to finish review.

Reviewing Multi-Speaker Dubs

  • Review speaker-by-speaker rather than line-by-line for multi-speaker content.
  • Diarization errors (two speakers merged into one) are easiest to catch when you’re specifically listening for voice-consistency across a single speaker’s lines, rather than reading the transcript top to bottom.
  • Use the Original / target-language toggle on the playback bar to quickly A/B the source against the dub for a given block.