

Creating a Clone
Clone a voice in three steps - record, personalize, and save - right in the browser. For an overview of Instant Voice Cloning, its language support, and consent requirements, see the Instant Voice Cloning overview.
You must have the rights to clone any voice you record. The final step requires you to explicitly acknowledge and consent to recording, processing, cloning, and using the voice - this isn’t a formality, it’s a mandatory checkbox before you can save the clone.
The Three-Step Flow
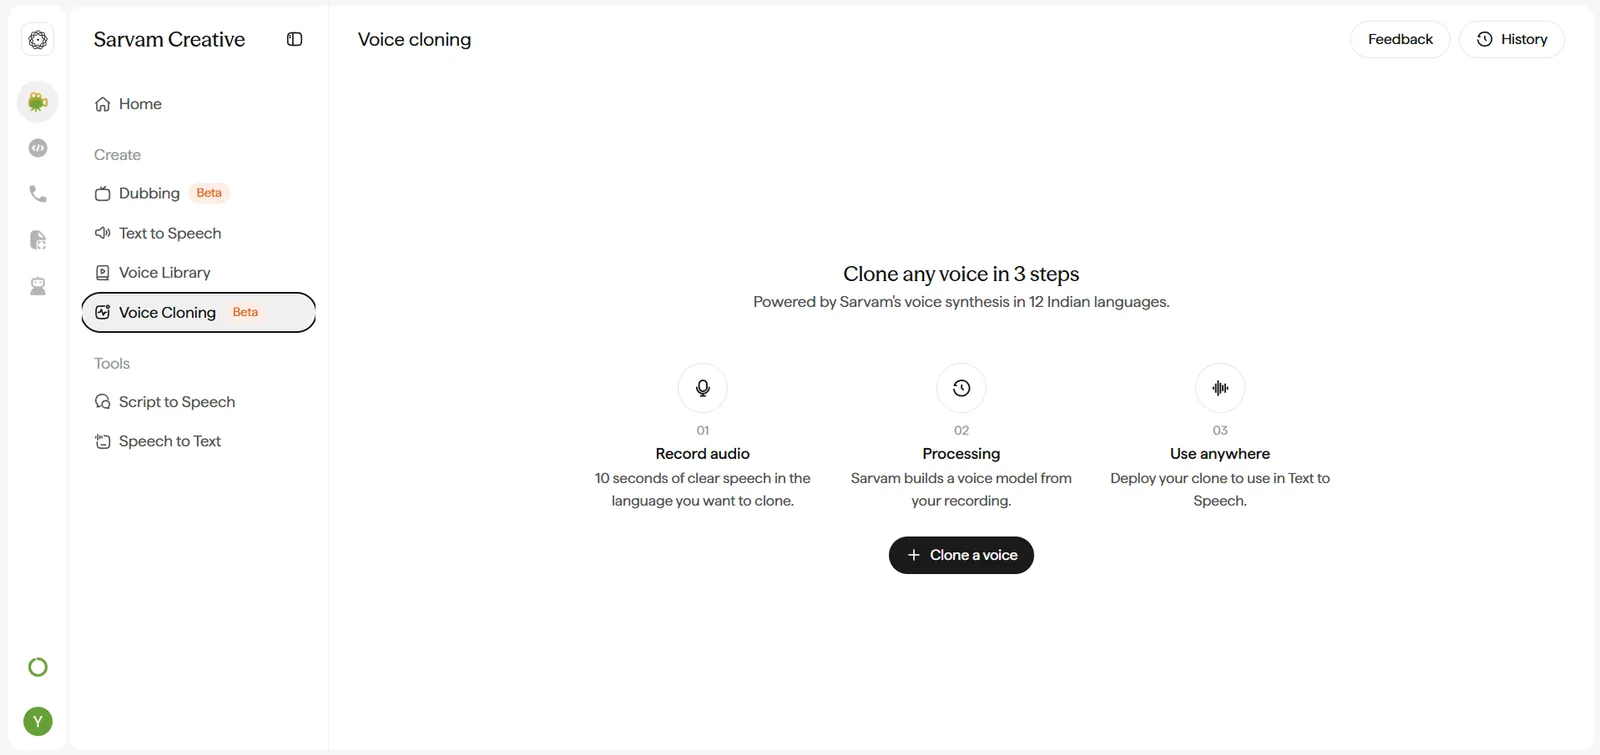
Record Your Voice
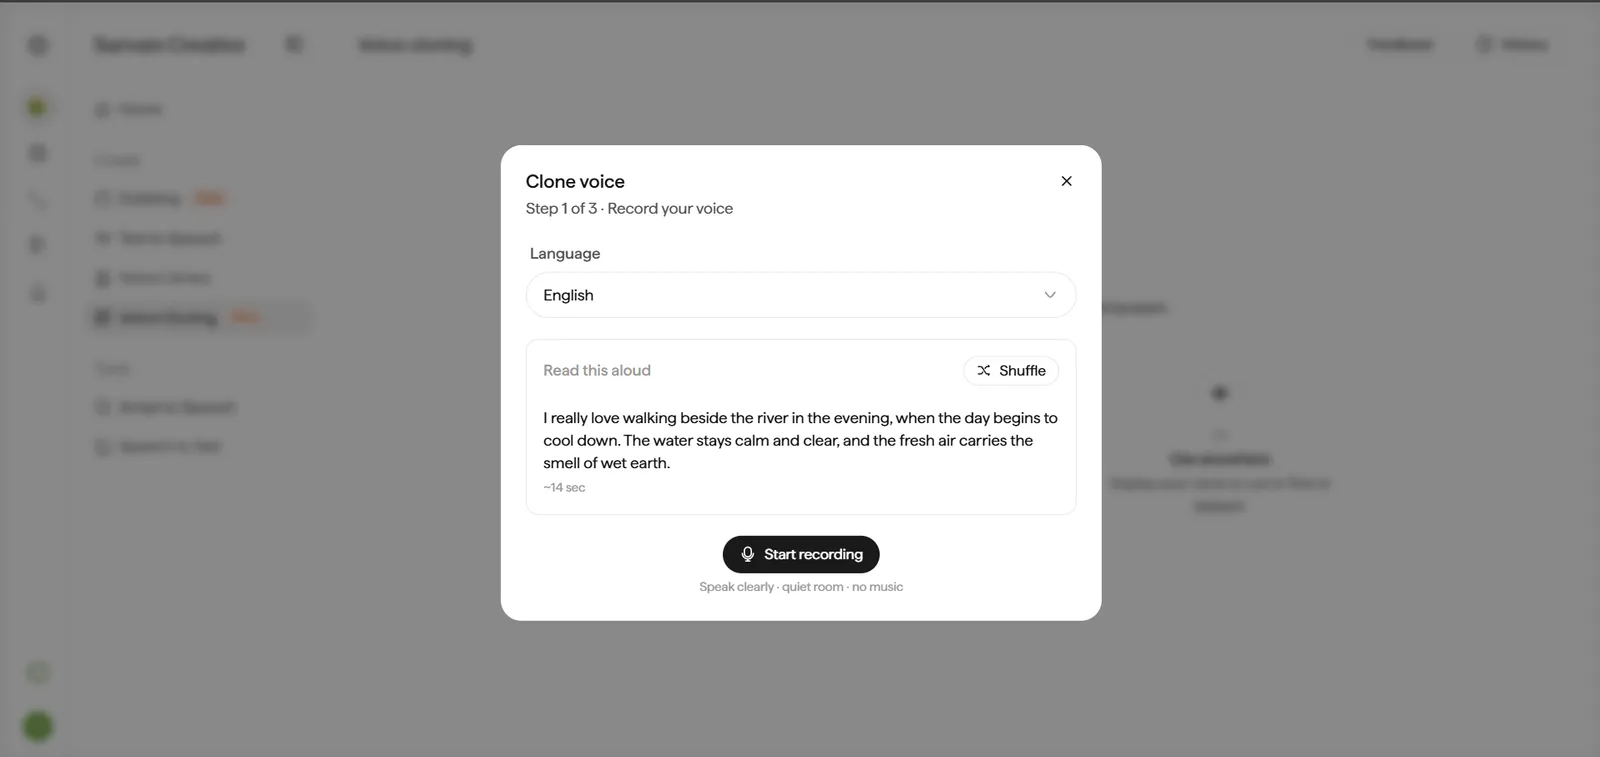
Start a New Clone
Click + Clone a voice from the Instant Voice Cloning landing screen, the Voice Library, Dubbing’s speaker-strategy step, or Text to Speech’s Cloned voices tab.
Choose the Language
Select the language you’ll be speaking from the Language dropdown.
- This is the language the clone is captured in - pick the one you’ll actually use it for.
Personalize the Voice
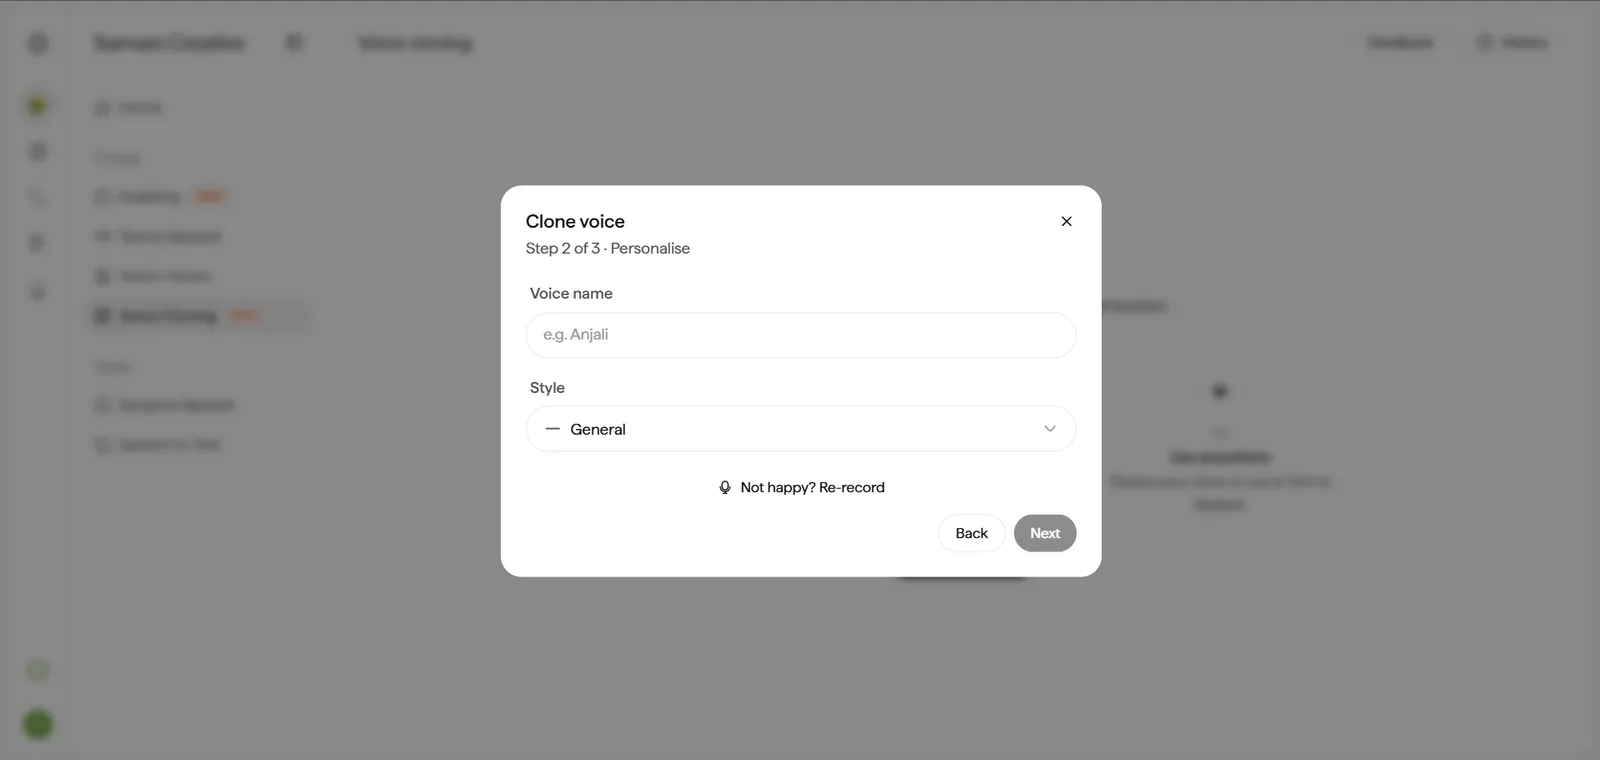
Name the Voice
Enter a name in the Voice name field.
- A specific, memorable name pays off later - “Narrator - Hindi Course” is much faster to find than a generic label once your library has several clones.
Set a Style
Choose from General, Conversational, Professional, Warm, or Energetic, or leave it on the default of “General.”
- This is a separate setting from the personality tags shown in the Voice Library - think of it as a hint for how the clone should be used, not a fixed label the system assigns.
Preview and Save
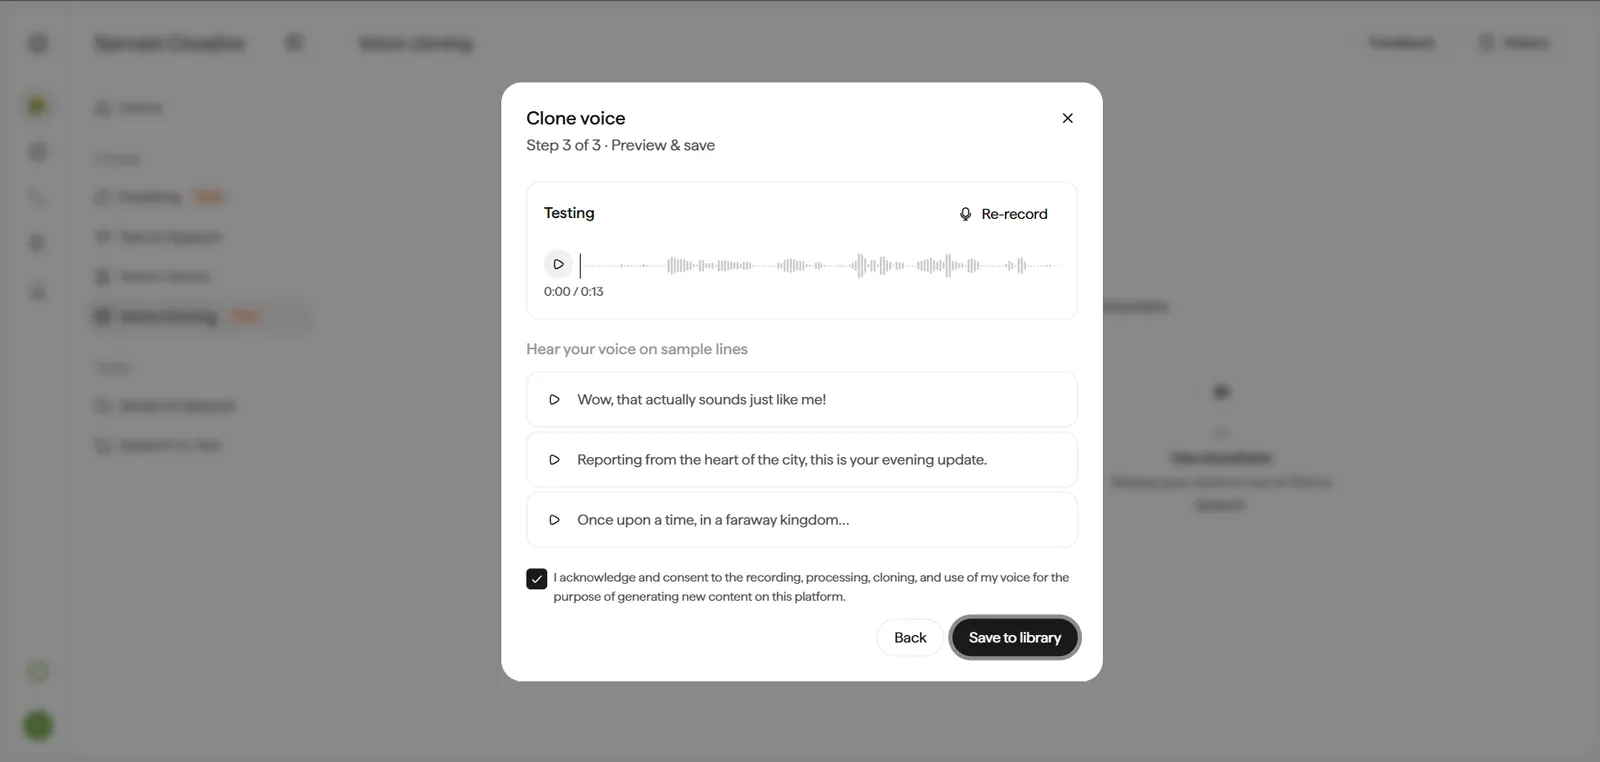
Preview the Recording
Play back your recording using the waveform player at the top of the step.
- Still not happy? Click Re-record here - you’re not locked into the take from Step 1.
Hear It on Sample Lines
Play the three provided sample lines to hear your cloned voice in different registers - casual, news-anchor, and storytelling.
- This is the fastest way to judge whether a clone will hold up across the range of content you actually plan to use it for, rather than just judging it on the original recording alone.
Once processing finishes, the clone’s Voice ID is on its card under My voices — copy it when you need the voice in the API. Head to Using a Cloned Voice to select it in Studio or use it over the API.