

Transcribing a File
Upload or record audio and get back a speaker-labeled transcript. For an overview of Speech to Text, supported formats, and limits, see the Speech to Text overview.
Upload and Transcribe
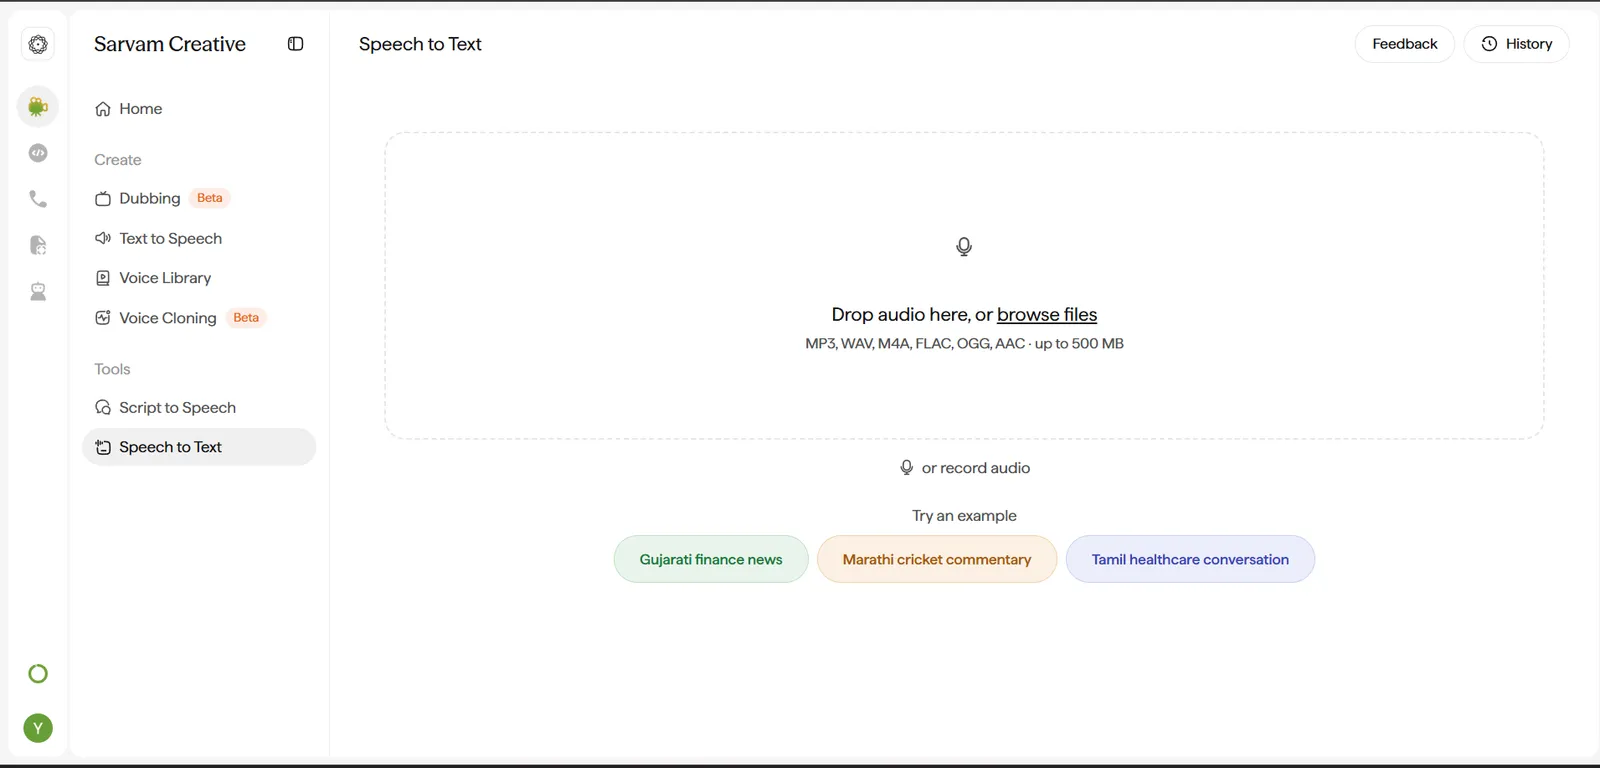
Provide Your Audio
Drop a file, click browse files, or click or record audio to capture audio directly in the browser.
- Video files work directly - you don’t need to extract the audio track yourself first.
- No file of your own handy? Click one of the Try an example chips to see a full transcription on a real sample clip.
Set the Spoken Language and Speaker Count
Once you’ve provided a file, its name and size are confirmed (e.g. “Demo Video.mp4 · 35.0 MB”), and two dropdowns plus a toggle appear.
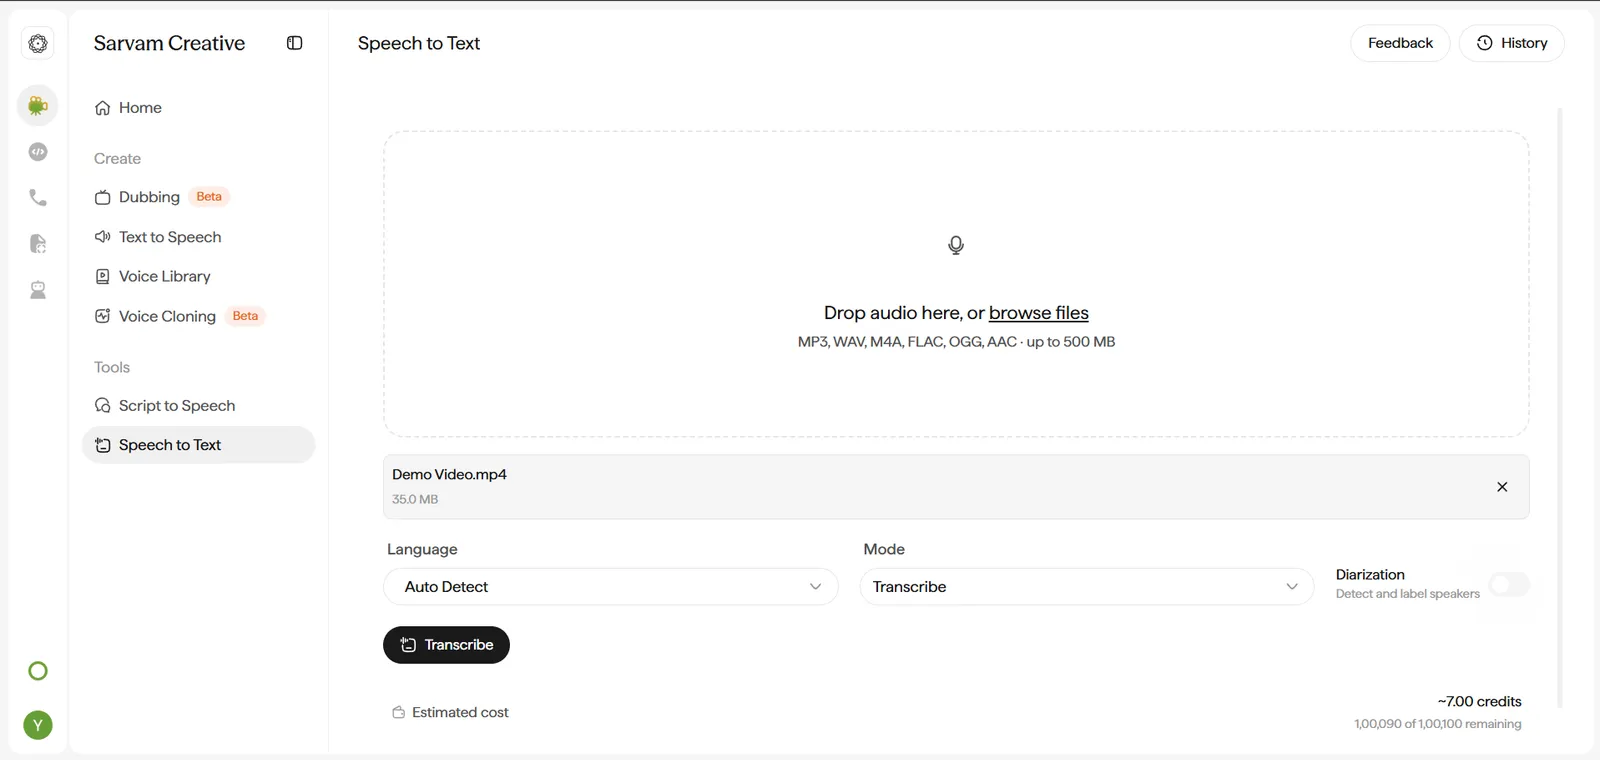
- Language - leave on Auto Detect, or pick the spoken language explicitly. Getting this right matters more for regional Indian languages and dialects than it might seem - an incorrect setting doesn’t just mistranslate a few words, it can distort the model’s expectations for the entire recording’s phonetics.
- Mode - defaults to Transcribe.
- Diarization - toggle this on to detect and label individual speakers in the transcript. For a roundtable or panel recording, accurate diarization is often the single biggest factor in whether the transcript correctly separates who said what.
- The estimated credit cost (e.g. “~7.00 credits”) and your remaining account balance are both shown live before you commit.
Reviewing and Exporting
- Once processing completes, the transcript opens in a slide-over Transcript panel.
- A playback bar at the bottom shows the source filename, a waveform, and elapsed/total duration.
- Icons beside the playback bar let you copy, download, or share the transcript.
Need this as a live API integration instead of a one-off upload? The same diarization pipeline is available via the Speech-to-Text API.