

Quickstart
Create a voice agent, test it in test agent, deploy it to a phone number, and make your first call.
Start building
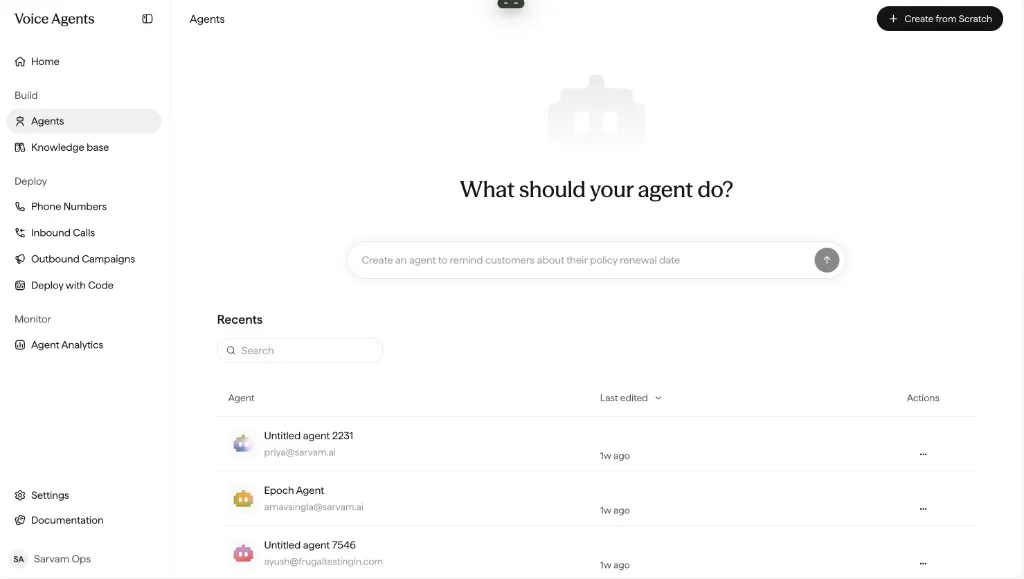
You create and manage agents on the Agents page (under Build). Two ways to start a new one:
- Describe what your agent should do in the prompt box, this starts a new Genie session that builds the agent for you.
- Create from Scratch for a blank agent.
You can also reopen a recent agent to keep working.
Step 1: Create an agent
- Log in at indus.sarvam.ai and open Agents under Build.
- Either describe what your agent should do in the prompt box (this starts a Genie session that drafts the agent) or click Create from Scratch for a blank agent.
- You land on the Canvas, the visual agent builder where you configure everything.
From here, keep refining with Genie or write the prompt yourself. The steps below use the prompt-writing approach.
Step 2: Configure a system prompt and initial message
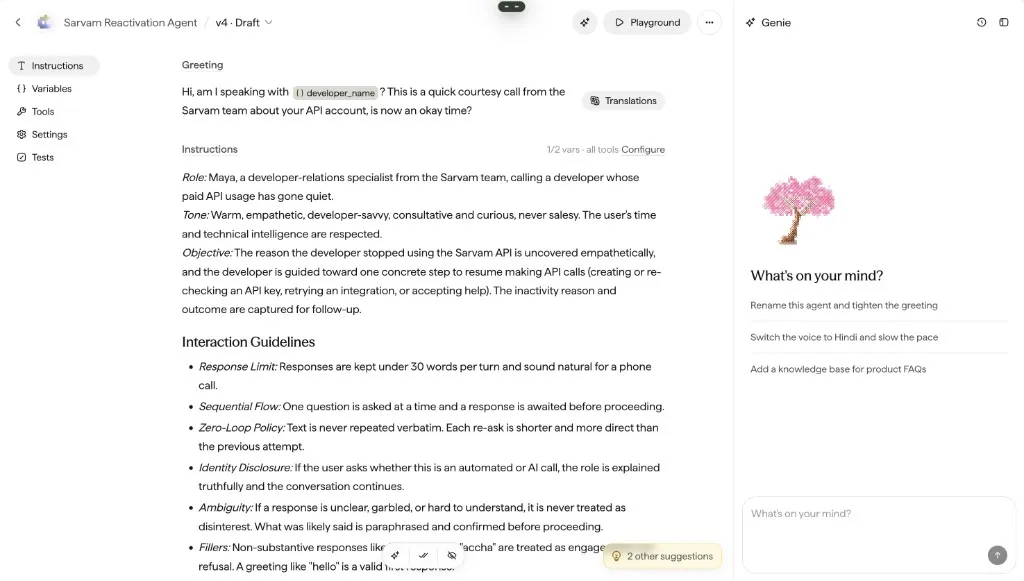
- On the Canvas, open the agent’s Instructions tab.
- Set the Greeting (initial message) the agent speaks when the conversation starts. Insert variables as chips (for example
{} developer_name). - Write the system prompt: who the agent is, what it should accomplish, and how it should behave.
- Keep the first prompt short; you can refine it later in the Instruction guide.
Step 3: Select language and voice
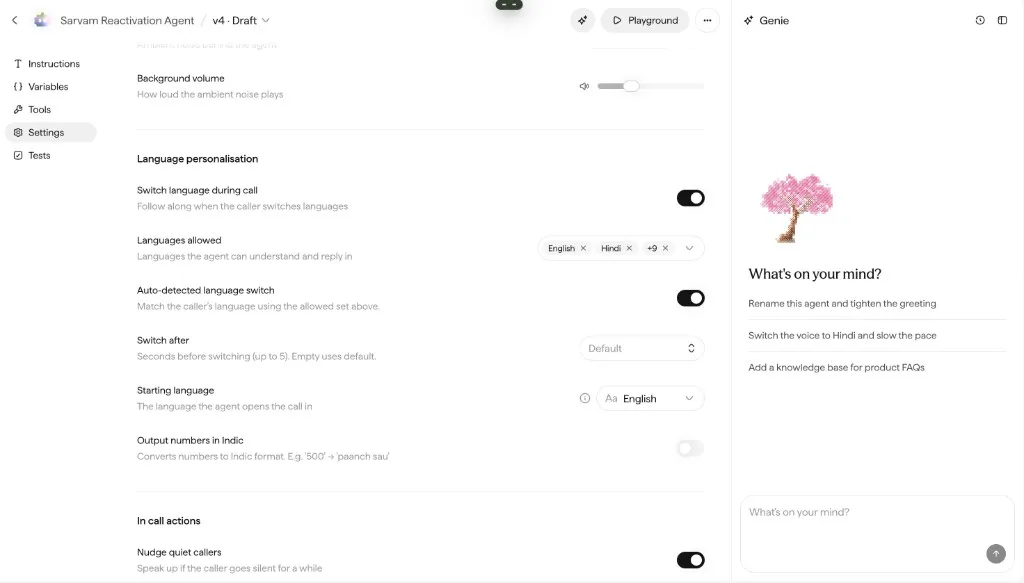
- Open Settings in the agent.
- Under Language personalisation, set the starting language, turn on Switch language during call if needed, and choose the languages allowed.
- Configure voice under Speakers & voice.
See Conversation settings → Language personalisation for the full set of language controls.
Step 4: Test in test agent
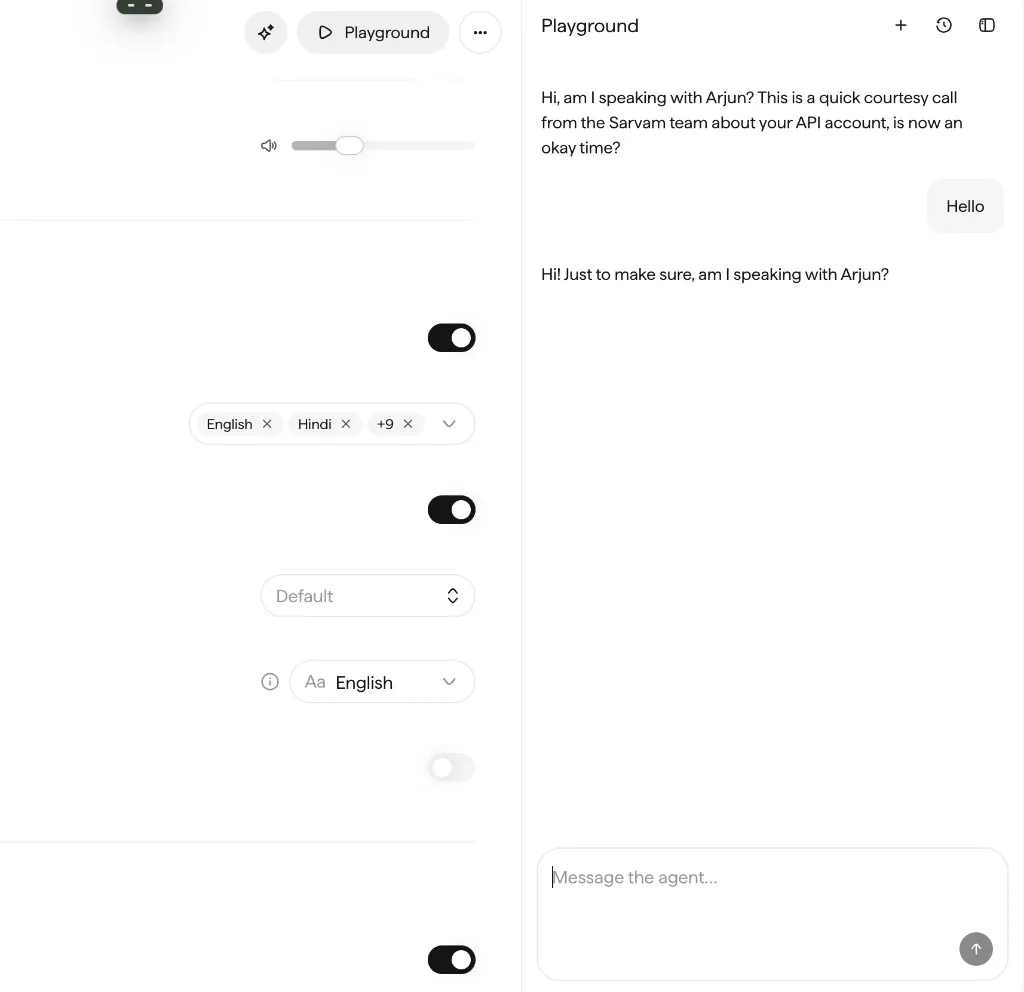
- Open test agent and speak to your agent normally.
- Test how it handles the conversation: greeting, turn-taking, language, and flow.
- Once you’re satisfied, move on to the next step.
See Deploy for phone-number-based testing options.
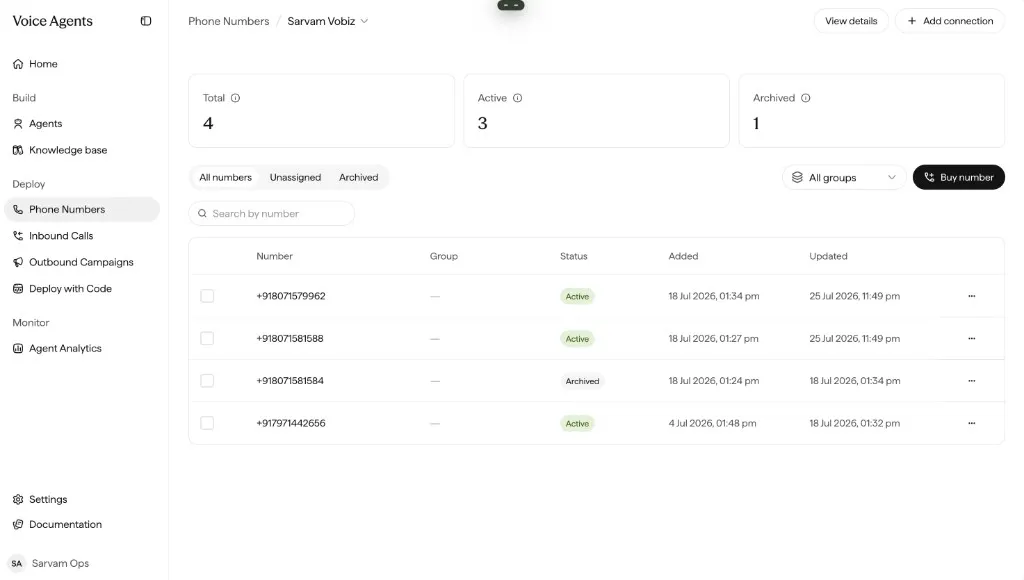
Step 5: Deploy to a phone number
- Go to Phone Numbers in the Deploy section.
- Get a phone number one of two ways:
- Bring your own telephony: connect your existing provider and import your numbers. See Bring Your Own Telephony.
- Rent from Sarvam: get a number through Sarvam’s Vobiz managed partner account. See Rent from Sarvam.
- Assign the number to your agent for inbound calls.
See Phone Numbers for provider-specific setup.
Step 6: Make your first call
Make a call one of two ways:
- Outbound: in Outbound Campaigns, configure a campaign from your agent to a cohort of contacts. See Campaigns.
- Inbound: deploy the agent under Inbound Calls, then call the agent’s number from any phone.
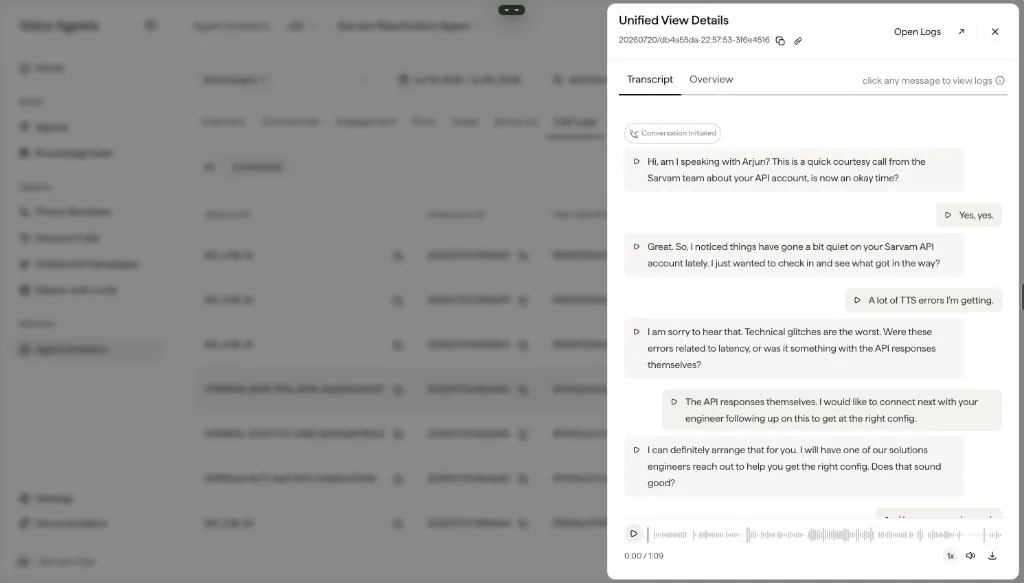
Then open Monitor → Agent Analytics to review the call, transcript, and recording.
Next: explore the full Build section to add tools, knowledge, states, and evaluation criteria.